Download Agreement, Release, and Acknowledgement of Risk:
You (the person requesting this file download) fully understand mountain climbing ("Activity") involves risks and dangers of serious bodily injury, including permanent disability, paralysis, and death ("Risks") and you fully accept and assume all such risks and all responsibility for losses, costs, and damages you incur as a result of your participation in this Activity.
You acknowledge that information in the file you have chosen to download may not be accurate and may contain errors. You agree to assume all risks when using this information and agree to release and discharge 14ers.com, 14ers Inc. and the author(s) of such information (collectively, the "Released Parties").
You hereby discharge the Released Parties from all damages, actions, claims and liabilities of any nature, specifically including, but not limited to, damages, actions, claims and liabilities arising from or related to the negligence of the Released Parties. You further agree to indemnify, hold harmless and defend 14ers.com, 14ers Inc. and each of the other Released Parties from and against any loss, damage, liability and expense, including costs and attorney fees, incurred by 14ers.com, 14ers Inc. or any of the other Released Parties as a result of you using information provided on the 14ers.com or 14ers Inc. websites.
You have read this agreement, fully understand its terms and intend it to be a complete and unconditional release of all liability to the greatest extent allowed by law and agree that if any portion of this agreement is held to be invalid the balance, notwithstanding, shall continue in full force and effect.
By clicking "OK" you agree to these terms. If you DO NOT agree, click "Cancel"...
On Saturday, August 13th, my partner and I climbed Quandary West Ridge. For a couple of years I had been apprehensive about climbing this ridge because of all the warnings on the .com and from various other trip reports on "how hard" it was. I want to preface this trip report by mentioning I am fairly experienced with class three climbing. So, when I say this was an easy route, please consider that it was easy coming from someone with multiple class three climbs (both on 14ers and 13ers) under my belt. I have done Sneffels South West Ridge, Tour de Abyss, Kelso Ridge on 14ers plus the 13ers Pacific Peak West Ridge, Father Dyer East Ridge, and Wheeler South Ridge.
But seriously, heed the warnings.
Please read the route description on the .com. This is a huge tool in helping to stay on route. As noted in the above picture, if you get off route you could get in to serious trouble. We observed a couple who got off route twice, and that was before the class three sections. (I hope they made it through OK.) I had the description printed and in my pocket for reference just in case. Not that I specifically needed it, but it was good to have in those moments of "are we there yet?"
The purpose of my trip report is more or less to provide photos relevant to route finding and to describe the class 3 sections.
Trail above the lake.
The trail starts off pretty easy and well defined up to and through the basin.
At this junction, you will need to walk parallel to the creek for a second or two before finding the trail on the left side. Trail into the basin. The trail eventually parallels another creek. There is an easy crossing shortly after reaching the creek, even though a trail continues up along the creek, you will be able to see the main trail on the other side. If you continue up the creek and get to the crossing area where there are planks across the creek, you should cross sooner rather than later. Do not continue up the faint trail or you will end up on the wrong side of the basin.
Once you're at the end of the basin, locate the gully with the rust colored rocks. We continued up the left side and were easily able to avoid the snow field.
Rust colored rocks partially covered by a small snow field.
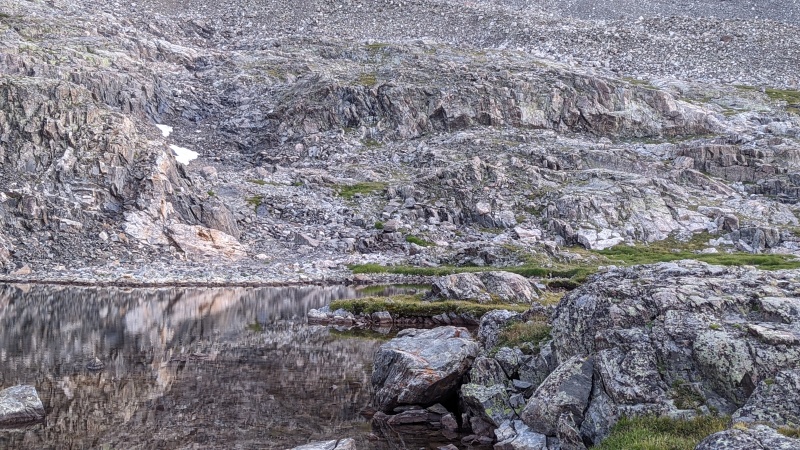
At the top of this section you continue across talus and boulders. There are carins to guide you through this part. Eventually you will come to a small body of water. Above this body of water were two snow fields. We cut around to the right of the water and traversed just below the smaller section of snow. This brought us out a little west of the route descriptions exit to the ridge, but we were easily able to find the trail that traversed the "bump" on the ridge.
Looking to the right of the small body of water. Climbing up to the ridge just below the bump as described in the .com route description. Spotted two figures heading directly up to the ridge as the .com avised not to do. We observed it took them a great deal of time and effort to go up this way as opposed to following the description up through the basin and to the bump on the ridge.
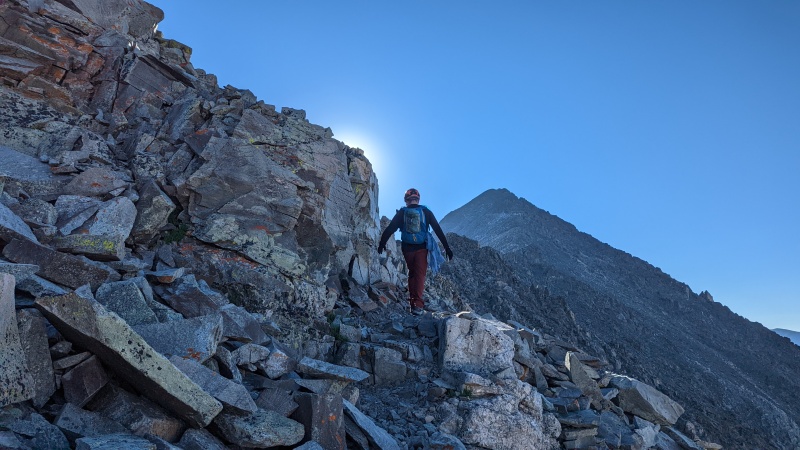
Once on the ridge, there was a faint trail that went around the initial difficulties on the (right) south side of the ridge. There were sparse carins marking the way. You will stay on the right side of the ridge until 13,500' (as described on the .com) until you make the switch over to the left side of the ridge for the traverse. Our altimeter read 13,495' so pretty accurate on the description.
Bypassing the initial difficulties.13,500' where you cross over to the left (north) side of the ridge.
On the .com the photo of the traverse looks like it's pretty flat across until you regain the ridge. Do not be fooled. You gain about 500' during this time so it's more upward than the picture would lead you to believe. Not incredibly difficult and the trail is fairly well defined.
Regaining the ridge. This is where the fun starts.
You'll go up, down, and around several bumps on the ridge that are fairly straight foward before you come to the dirt gully as described on the .com.
A little loose but nothing terribly concerning. Small section of class 3 climbing at the top and then you make a right from the top of the gully.
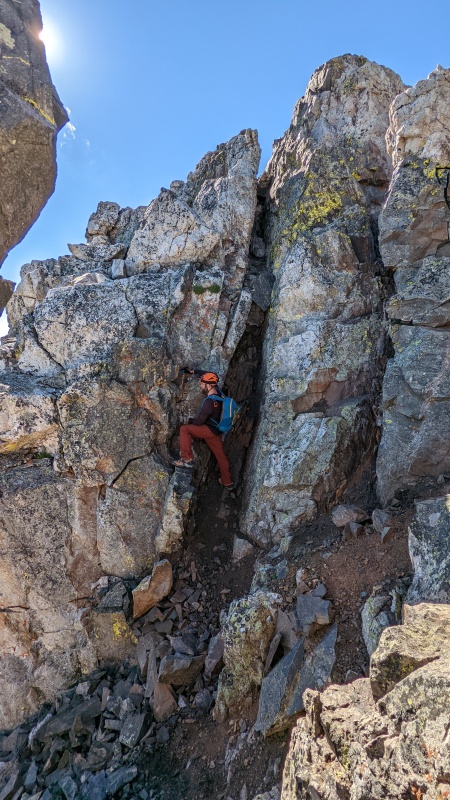
Fairly quickly after reaching the top of the gully you will see the wall with the crack in it. For the ascent up the wall, we stayed to the left of the crack and had a pretty easy time of it. The hardest part was getting on to the wall from the base where my partner is standing in the photo below. After a few quick moves, there's a ledge that goes around to the left to easier climbing terrain.
Wall with the crack.
At the top of the cracked wall is a short but very exposed catwalk.
Catwalk was wide enough but could be terrifying if you're sensitive to exposure.
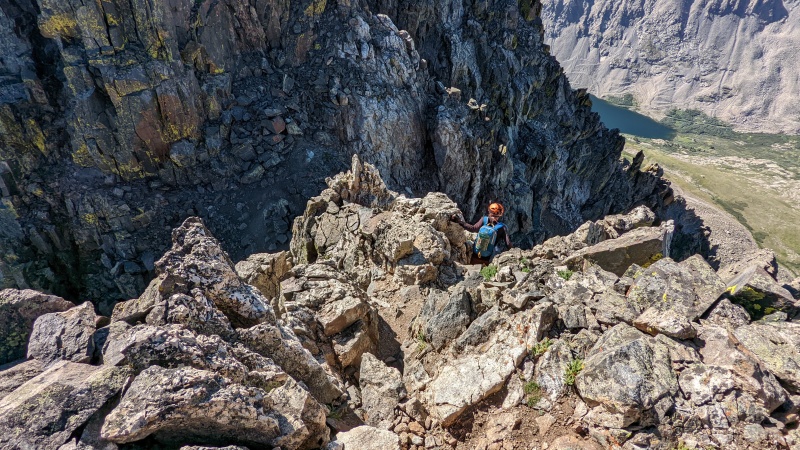
Not long after the catwalk you can see the big wall. This is where the description says to downclimb to the left or to the right. This is what that junction looks like (below). We read a trip report where someone had success climbing down to the right so we attempted that direction. This section is somewhat exposed so take your time. You don't have to climb what appears to be all the way down. There are some ledges to the left (if you're climbing down facing away from the mountain) that allow you to get to the ridge at the top of the gully. Before you begin your climb down, get a good look at the wall and figure out where you need to go from the base to reach the stairs section of it.
Climbing down to the right.The big wall. There's a pretty obvious crack going straight up the wall. The stairs are just to the lookers left of it. At the top of the stairs we continued climbing up and to the left and had good success with this approach.
After the big wall, the excitement is over. I didn't find the climbing to be difficult except for maybe two or three moves that required a little extra thought and muscle. The exposure was high enough -- but for myself, the catwalk was the only place where I really felt it. I must say though, it's very important that you do your homework and know the route. If you drop down too far off the ridge, I can see how easy it would be to find yourself in a bad place.
Once on the summit, we were greeted by a gaggle of people who came up the standard route. We only saw two other groups on West Ridge so it was a little disappointing to end our secluded climb with a massive group at the end. It was to be expected but still. Instead of celebrating on the summit, we headed to Cristo for the descent. We climbed down so we could no longer hear or see the people on the summit and had our summit beer and snacks there.
Greetings from the summit.View from the summitAnother view from the summit.
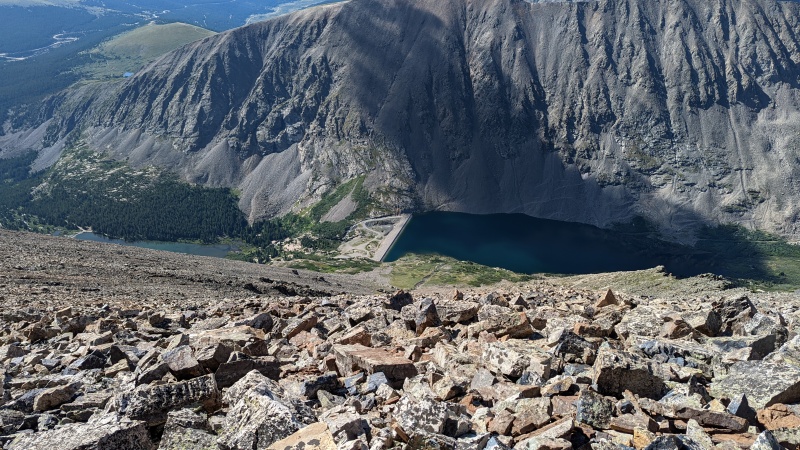
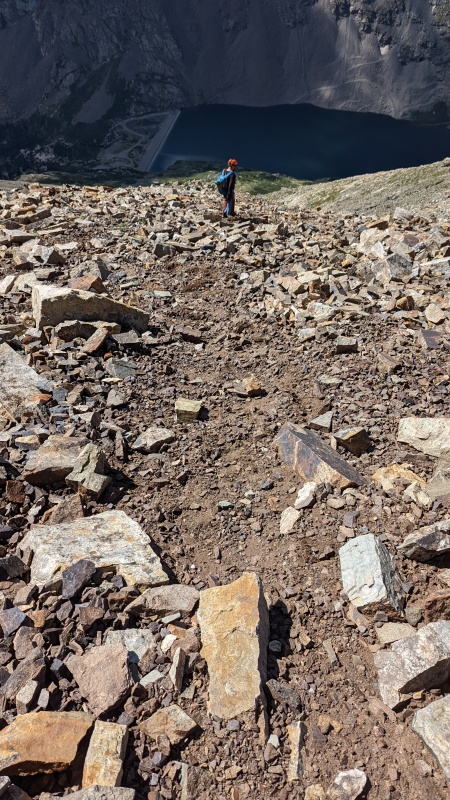
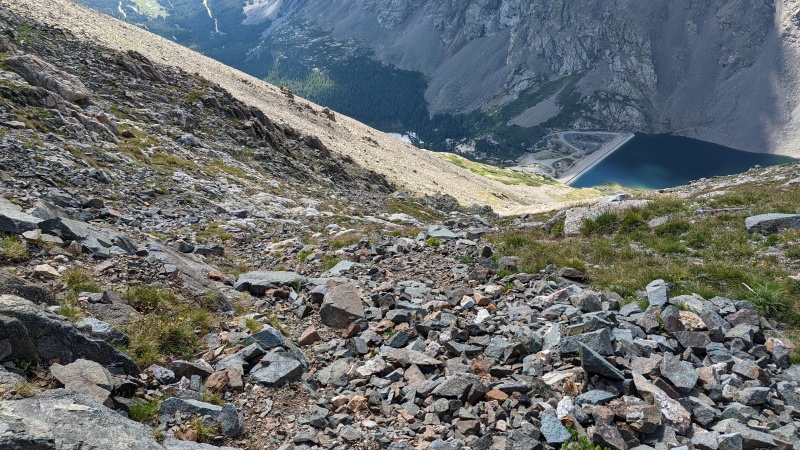
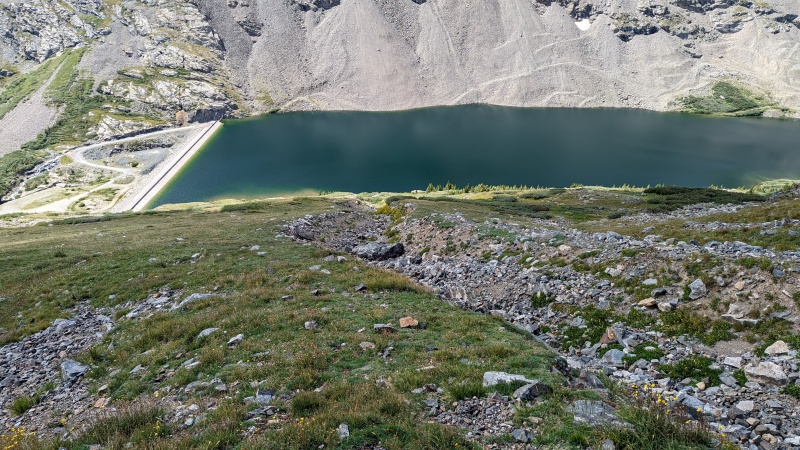
I wanted to include some pictures of the Cristo descent since I had a hard time finding any in the trip reports I had read previous to my trip. To answer your questions, yes, Cristo is steep. You're descending over 2000' in one mile, it should be expected. Yes, Cristo is loose. I recommend keeping on your gloves (we also kept on our helmets to be safe) and having good hiking boots with ankle support and good grip. It wasn't impossible or overly difficult for us though. Keep a low center of gravity and be sure of your footing and you'll be fine. I like the side step approach on steep loose terrain and it worked out fairly well for me. Some reports said to stay to the left of the couloir, I read a lot that said stay to the right, we split the difference and went down both sides sticking pretty close to the center of the couloir. I don't think you'll have better luck on either side over the other, just pick what looks good and go for it.
Top of CristoA lot of the trail looked like thisTalus sections of the descent were loose so be careful.For the exit, we stayed to the left of this gully navigating through the tundra back down to the trail.
Thumbnails for uploaded photos (click to open slideshow):
Blue lakes is still free parking but the road is closed about half a mile or so from the dam. Give yourself an extra twenty-thirty minutes to reach the trailhead. We parked around 530am on a Saturday and didn't have an issue.
I think my daughter and I were on the route with you. Looks like you won the race to the Jeep. How long did it take you down? I think it took us 2.5 down the standard and back up the road.
It was nice running in to you two! Glad to hear you made it up the route without issue! Down Cristo took us about an hour twenty. Sounds like you made great time down the standard route and back up to the blue lakes parking area. Curious if you passed the two that were between our groups on the ridge? They seemed to be having a hard time with route finding.
The last I saw of that other group (guy and girl) was on the tower that we down climbed. They seemed like they were having a hard time finding the way. Yeah we were crushing it - stopped smelling the roses. But really not bad it was like 5 miles.
Caution: The information contained in this report may not be accurate and should not be the only resource used in preparation for your climb. Failure to have the necessary experience, physical conditioning, supplies or equipment can result in injury or death. 14ers.com and the author(s) of this report provide no warranties, either express or implied, that the information provided is accurate or reliable. By using the information provided, you agree to indemnify and hold harmless 14ers.com and the report author(s) with respect to any claims and demands against them, including any attorney fees and expenses. Please read the 14ers.com Safety and Disclaimer pages for more information.
Please respect private property: 14ers.com supports the rights of private landowners to determine how and by whom their land will be used. In Colorado, it is your responsibility to determine if land is private and to obtain the appropriate permission before entering the property.


")
")
")
")
")
")
")
")
")
")
")
")
")
")
")
")
")
")
")
")
")
")
")


